
 Maureen Josephine
- 05 Dec, 2021
30+ Online Learning Sites
This blog post provides links to various online Learning sites.

I can almost bet on it that you’ve fallen in love with JavaScript and want to dive deeper into learning some of it’s libaries and frameworks. Well if that’s the case then this is the place to be. This guide will walk you through everything you need to know to get started with React.
We’ll get set up, explain the how’s and why’s behind the basic concepts and build a small project that displays data from an API. I am assuming that we have a little knowledge of JavaScript core concepts such as Asychronous programing, Promises, Hoisting, ES6 Syntax etc. If not visit here JavaScript Concepts That Every Developer Must Know to learn more.
Grab a drink, buckle up and let’s get started!
You don’t need to have any prior knowldge of React before reading this article, you however need to be familiar with a few things in order to get the most out of this guide.
React is a JS library so it makes sense to know JavaSript before learning React right? Worry less, you don’t need to know Javscript extensively to learn React Js, just the basics.Here’s a list of some of the concepts you should be familiar with before learning React.
In React we use JSX, which we will dive into later. But for now have a good grasp of HTML preferably HTML5.
The first thing we do before interacting with any programming language is to set up it’s developemt environment, React JS is no different. If you have Node JS and Visual Studio Code (or your preffered IDE) set up you can skip this section.
Do I really need node to set up a React app? The answer is no. If you are a web developer that can handle HTML/CSS and JavaSCript you can try React without Node JS or any other complext tool to manage it. That’s your assignment.
In our case we need Node js. To download it visit this link and choose one that fit’s your machine.
When the installation is complete, open your terminal and type
node -v This should show you the version of node that you have installed. The output should look something like: v16.7.0 Hurrraaaaaayy!!! Congratulations! You have completed the first step to getting started with React.
VSC is a popular Open Source IDE for frontend development. There’s a bunch of IDEs that you can try depending on your preference. For now we will run with Visual Studio Code.
Click this link to download the version that suits your platform. That’s enough development set up for now.
The next step is now creating a React app. Thank God for the folks at Facebook who made it easy for us to do that. All we to do is run this command in our terminal.

This creates a React project called my-app.
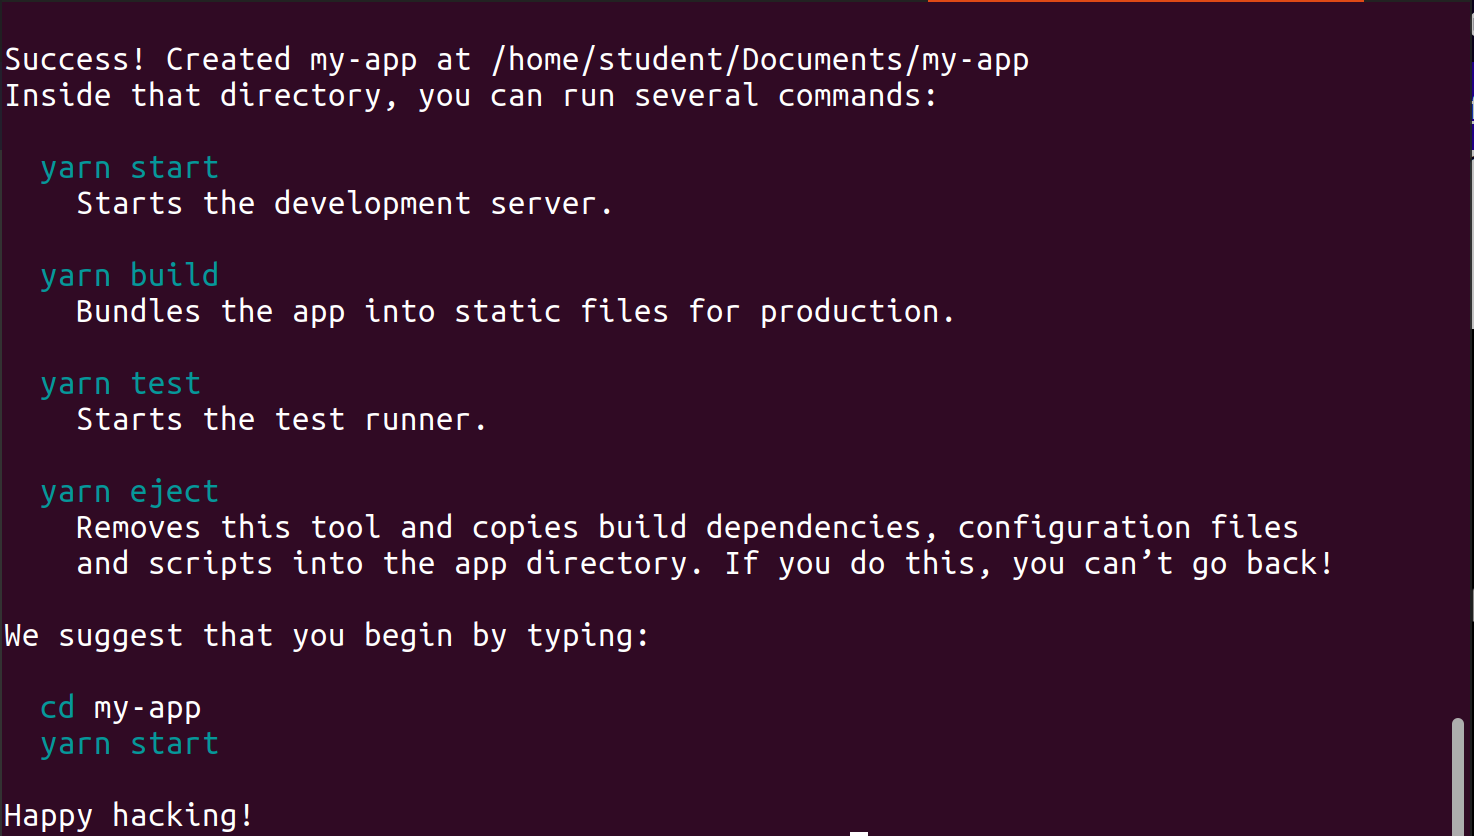
Realize we’ve been directed on how to start our app

Run these commands on your terminal, this will start a development server and open a web browser for you.
You;ve just set up your first React app, if you want to know more about what happens in the background visit this link Create React App
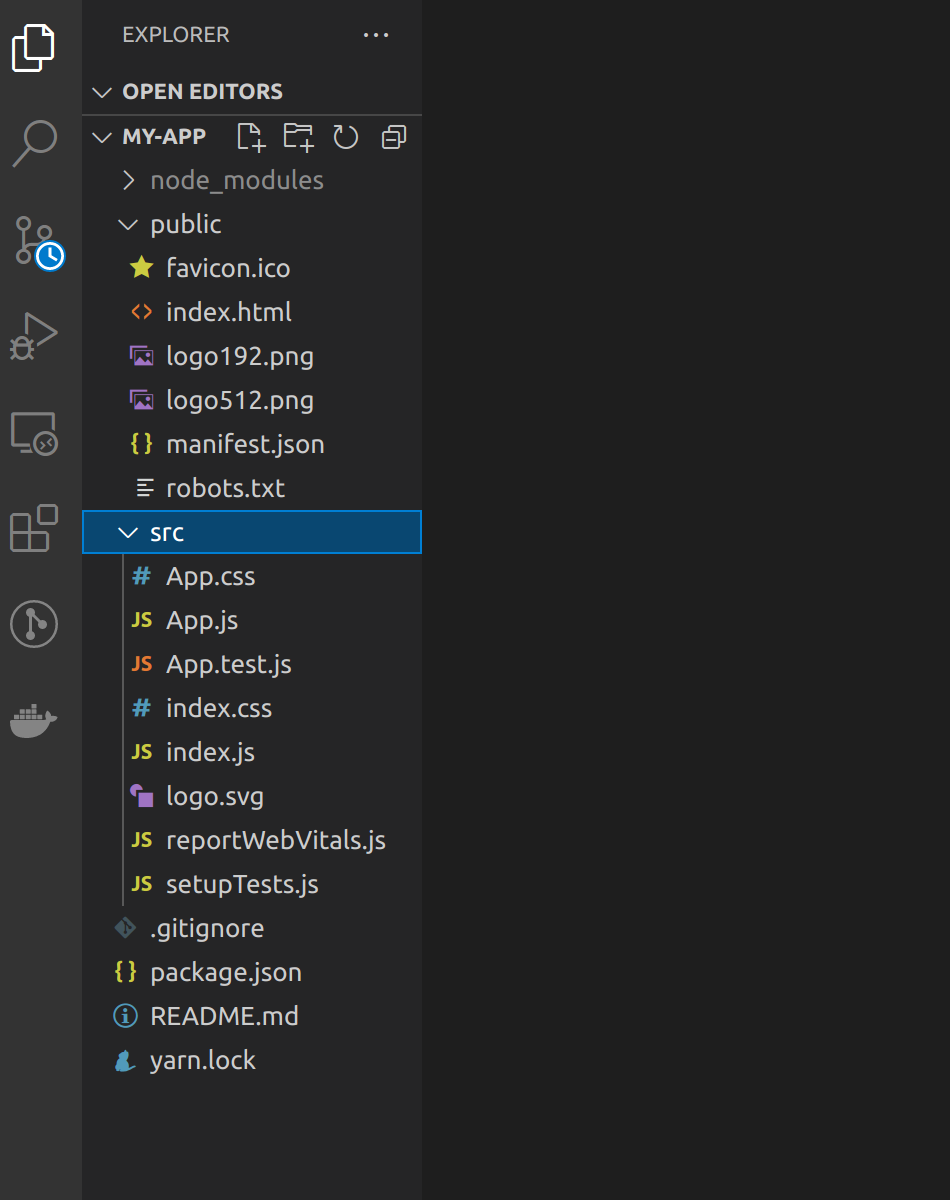
After running npx create-react-app yourApp, you will find your app root has three folders, node_modules/, public/, src/ and three files .gitignore, package.json, README.md and yarn.lock.
Let’s break down what you just did. The first line in the output is from npx . There are two things npx can do when you give it the command. It first looks in your local machine for the package to run it. If it doesn’t find one, it starts looking for npm’s package list. The first message in the output is just letting you know that it handled getting it.
Next inside create-react-app, your command runs through a series of checks. It finds information about your system, looks for any flags attached and whether you specified a folder to output. Then the actual createApp function runs. This checks if the directory you choose is a safe one. It does this by looking for log files, if it fails any of this checks you will receive an error message.
Next it begins to form a package.json file with the default values name: yourAppName, version: 0.1.0 and private: true. This is written to the directory you specified. Here it determines if it should use yarn or npm based on what you have in your machine. A series of checks are run on the version of npm/yarn, node version to select the correct version of react-scripts to use.
The next function is called run() . This continues the installation. Right now the only output you’ve seen so far is is the npx line “Creating a react app in react, react-dom and the version of react-scripts either from the internet if you are online or the local cache if you are not.
This is where you get the line installing react, react-dom and react scripts. The first thing it does is check if there’s package.json file and yarn.lock. It loads package.json file into a variable called appPackage in JSON format. It checks if TypeScript is a dependency after it does this. Next it begins adding to the JSON.
First is the scripts, this will probably be familiar as start, build, eject and test. These are located in init.js file that we are currently going through. Next is the eslintConfig and defaultBrowsers. These are by default `>0.2%',‘not dead’, ‘not ie <= 11’,‘not op_mini all’. Basically this means target all browsers that are higher than .2% market share, in active use, not below IE 11 or Opera Mini.This is a seperate package located in package.json. You can find it Here .
The package.json file is written out and will not be changed again. At this point there’s no output yet, a README.md file is checked and if it exists it is renamed. The files specified in the template folder are then copied to a working directory. This is the public, README.me, src and gitignore. gitignore is copied without the . infront then renamed, this is to prevent an npm bug.
After a check to see if React is installed, it moves to check if the repository has been initialized with git. These runs git init, and adds the first commit. This is where the line Initialized a git repository comes from.
The last thing init.js does before ending the process is print the success message and instructions. These introduce you to basic react scripts commands and suggest you cd into your app directory to run your application.
This is the entry file, the first thing that the web browser loads when a user navigates to your app. If you look at the file, it’s just a normal HTML file that you’re hopefully familiar with. If you look at the body, it’s empty. React dynamically convert our React code into HTML and load it here, in the div with id “root”. With that out of the way let’s get to the juicy part.
Open up our App.js component, this is the main component in our application. It is the first component to be rendered, the icing to our cake.
The first thing we are going to do with our icing is remove all the code so that we build our component from scratch so that we better understand what’s going on.
Now that we have a nice and clean slate,we will start by importing react
import react from 'react';
Next we declare a function, we will use ES6 arrow function here. That’s more or less what a component is…A function with some logic and markup ( In this case JSX ). We are also going to export this function so we can use it elsewhere.
    const App = () =>{
                }
            export default App;
Within this code we write a return() statement, that is what get’s returned from this component, and contains our markup that get’s rendered inform of HTMl.
Finally let’s add a div with an h1 title tag. Our finished component looks like this:
    const App = () =>{
            return(
                <div>
                <h1>Our First React App</h1>
                <h2>This is our first react app, isn't it amazing!!!!</h2>
                </div>
            )
}
Now you are probably thinking, Whoah!! HTML in a function? Even though it looks like HTML, it’s something called JSX( JavaScript XML ).It allows us to mix JavaScript and HTML.
This might seem a littel peculiar cause we started learning front-end development by seperating HTML and JavaScript( and even CSS ). That is where libaries come in, to keep things together and to make writing code easier.Keeping everything together in the same component makes it easier to maintain and reuse the code.
Let’s see that in action. Run this command in your terminal
npm run start
This should open the browser and you should be able to see your application running.
Voila!! You just created your first component.
Let’s dive deeper into JSX, you probably have some questions lingering.
    return(
                <div>
                    <h1>Our First React App</h1>
                    <h2>This is our first react app, isn't it amazing!!!!</h2>
                </div>
        );
This looks like HTML and it’s not. It’s JSX! Evn though it looks like normal HTML but it’s not, React is creating the element tree using the following syntax:
React.createElement(component,props,...children)
div, h1 const App = ()=>{
return(
React.createElement('div', null, React.createElement('h1',null, "Hello World"),
React.createElement('div', null, React.createElement('h1',null, "This is our first react app, isn't it amazing!!!!"))
);
}
This is a whole lot to type right? It looks messy. If you trace through it you will realize we are creating a div which has no props passed to it and has other elements created inside it which are h1 and h2. If you’ve interacted with JavaScript a lot you’ll realize that it a lot similar to document.createElement after all this is a JavaScript library.
This is the beauty of JSX, it allows you to write JavaScript and HTML without going through the hustle of React.createElement().
React developers almost exclusively use JSX, this section was important to understand what happens under the hood.
Why use JSX when you can just write HTML and get away with it? Well if we remember what JSX stands for( JavaScript XML ). This means we can use JavaScript to make things dynamic. Our previous example looks like so:
     const App = () =>{
            return(
                <div>
                <h1>Our First React App</h1>
                <h2>This is our first react app, isn't it amazing!!!!</h2>
                </div>
            )
        }
Now let’s make it dynamic.
Create a variable message to hold our message.
const message = 'This is our first react app, isn't it amazing!!!!';
Now to add JavaScript to use this, we use curlybraces {}.
        const App = ()=>{
            const message = 'This is our first react app, isn't it amazing!!!!';
            return(
                <h1>Our First React App</h1>
                <h2>{ message }</h2>
            )
        }
If you run this in your terminal you will see the output. Now go ahead and change the message and see magic! We use curly braces to tell the compiler “execute this code in JavaScript”. If we didn’t have the curly braces the message wouldn’t be executed as JavaScript, and instead the text ‘message’ would be displayed on your browser.
Hopefully, I have cleared all the questions you have about JSX and creating components plus making them dynamic. I know you still asking yourself how these components get rendered right? This section will clear that up.
Let’s take a look at our file structure, notice index.html , this is always considered an entry file, to most developers if not all. You can change the entry point if you wish. For now we will leave it as is.
Focus on this line of code
ReactDOM.render(<App />, document.getElementById("root"));
Notice we have document.getElementById("root"); finally some normal looking JavaScript. This gets the root element from the DOM using plain JavaScript and renders our App component within it. Our App component is imported like so:
import App from './App';
Remember we exported App from our App component. This lets other files or components use App component.
The root element comes from index.html file from our folder called public/ . As mentioned earlier, index.html is the file that gets rendered when the application loads. Within it we have a div with an id root which is empty and where our React components get rendered. Let’s open our dev tools and have a look.

Wuuuuh wuuuh!! This is the most interesting part, in JavaScript there’ll always be data to be fetched and dislplayed because you constantly have to communicate with the backend. We will not dive in too deep. We will use fetch API. Fetch API uses Promise to deliver more flexible features to make requests to servers from web browsers. In addition it is much simpler and cleaner compared to XMLHttpRequests.
The fetch() is available in global scope which instructs the web browsers to make requests.
The fetch() only requires one parameter which is the url for the resources you want to fetch.
let response = fetch(url);
The fetch() returns a Promise so you can use then and catch to handle it.
        fetch(url)
        .then(response => {
        //Handle response
        })
        .catch(error =>{
         //Handle error
        });
When the response completes the response is available. At this time, the Promise will resolve into Response object.
The Response object is the API wrapper for the fetched url resources. The Response object has a number of useful properties and methods to inspect the response.
Let’s get right into the juice.
Visit this link to get some free APIs. Choose any that you please. In our case we will use Cat facts APIs. I love cats!!
        import "./App.css";
        import React from "react";
        const App = () => {
        let catFact = {};
        let fact = '';
        const fetchAPI = () => {
            fetch("https://catfact.ninja/fact")
            .then((response) => {
                return response.json();
            })
            .then(data =>{
            catFact = data;
            fact = catFact.fact;
            console.log( catFact );
            console.log(fact);
            })
            .catch((err) => console.log(err))
        };
        fetchAPI();
        return (
            <div className="App">
            <h1>First React App!</h1>
            </div>
        );
        };
        export default App;
To your previous code, add the above snippet and open your console to view your data. Now as an assignment work on displaying the data on your browser.
There are better libararies used to fetch APIs such as axios.Here’s a link to a comprehensive view of axios
React has a good documentation showing a step to step guide. Check it out here. See you on the next blog when we talk about props.
Happy coding!!!!

This blog post provides links to various online Learning sites.

This blog post showcases a list of some tech communities that you can join as you continue with your tech journey.